What are Custom Actions?
Give a published Chipp chat agent the ability to interact with external services. Custom actions apply to conversational agent deployments, one of the output types Alchemist can build.
Custom actions require a Builder plan or higher.
Upgrade to Builder →
Custom actions let your AI assistant do things beyond just chatting. When a user asks your assistant to send an email, update a spreadsheet, or check inventory, custom actions make it happen.
How It Works
- User asks a question → “Can you add John Doe to our mailing list?”
- AI recognizes the intent → Needs to call the mailing list API
- Custom action executes → Sends request to your email service
- AI responds with result → “I’ve added John Doe to the mailing list”
Real Examples
Send a Slack Message
User: “Notify the team that the report is ready”
POST https://hooks.slack.com/services/YOUR_WEBHOOK
{
  "text": "The Q4 report is ready for review"
}
Look Up Customer Data
User: “What’s the order status for customer #12345?”
GET https://api.yourstore.com/orders?customer_id=12345Create a Support Ticket
User: “Create a high priority ticket about the login issue”
POST https://api.helpdesk.com/tickets
{
  "title": "Login authentication failing",
  "priority": "high",
  "description": "Users unable to log in since 3pm"
}
What You Can Configure
1. The API Endpoint
Tell your assistant which URL to call:
https://api.yourservice.com/endpoint- Supports GET, POST, PUT, PATCH, DELETE
2. Authentication
Add your API credentials securely:
- API keys, bearer tokens, and basic auth
- OAuth 2.0 client credentials, with tokens fetched and refreshed for you
- Client certificates, for APIs that authenticate you during the TLS handshake or with a signed assertion
Credentials are stored as encrypted variables and referenced by name, so they never appear in the action itself or in what the AI can see. See Authenticating Custom Actions for how to pick the right type.
3. Parameters
Define what data to send:
- Fixed values: Same every time (like your API key)
- AI-generated: Assistant fills based on conversation
- From other actions: Use results from previous API calls
4. When to Use It
Write a description so the AI knows when to trigger this action:
- “Use this when user wants to send an email”
- “Call this to look up order information”
Common Use Cases
Customer Support
- Look up account information
- Create and update tickets
- Send follow-up emails
Sales & Marketing
- Add leads to CRM
- Send notifications to Slack
- Update deal stages
Operations
- Check inventory levels
- Update spreadsheets
- Trigger workflows
Data & Analytics
- Query databases
- Generate reports
- Log events
Why Use Custom Actions?
Without custom actions: Your AI can only talk about doing things.
With custom actions: Your AI actually does things.
Instead of saying “You’ll need to manually add that to your CRM,” your assistant says “I’ve added that contact to your CRM.”
Requirements
- Builder plan or higher
- API endpoint you want to connect to
- API credentials (if required)
- 5 minutes to set it up
Quick Start
- Go to build.chipp.ai → Your App
- Navigate to Brain → Integrations
- In the Custom APIs card, click Add API
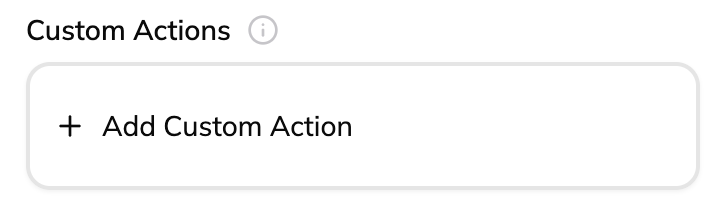
- Paste a cURL command or configure manually
- Test it and save
Your AI assistant can now interact with that service.
Continue to Getting Started →